Easy Way To Install PVC Columns – PrestigeDiy
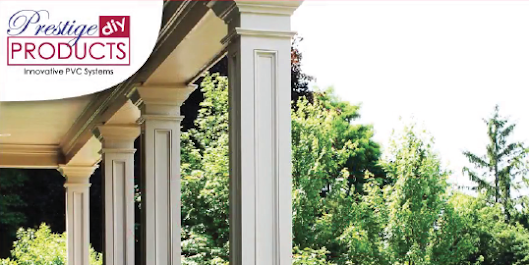
PVC Columns have become a major building material across several countries. The reason is its versatility and cost-efficiency that has enabled it to gain an edge over competitors. In this blog, we'll share some tips and practices for installing PVC columns easily:
Safety:
This
is NOT to be expected to be taken as protection advice, see mentioned safety
precautions in the owner's manual of your power tools.
Handling:
We
recommend that you use gloves and excellent care in handling your PVC parts.
Unlike wood, corners on PVC can be razor-sharp.
Load-Bearing Capacity:
PVC columns wraps are merely decorative and have
not been examined for load-bearing capacity.
Railings:
If
there are any fences to be installed, ensure the rails are bound to the
architectural support. Use only code permitted methods for installation. We
advise you to use a metal bracket or pressure-treated boards between the
supporter post and the center of the PVC wrap.
Cutting and Fastening:
Cellular PVC can be cut, hammered, and secured
with the same tools as used for wood, with a few exceptions. Avoid large
potential framing nailers and pre-drill for several screws larger than 1/2'.
Thick threaded screws are highly recommended.
Cold Temperatures:
Cellular
PVC becomes fragile the colder it gets. Keep columns inside prior to
installation when working in cold temperatures. Avoid hitting the front-face of
the column with a hammer.
Painting:
As cellular PVC columns are used for decoration, you cannot aside from their
wooden counterparts. Cellular PVC does not require a coating for protection.
Paint lasts much longer when applied to PVC versus adhering to wood due to the
loss of interior moisture.
Tapered PVC Wrap Installation Tips
Before fitting Tapered Columns, there are some major factors
to take into consideration.
1. As an expert, we recommend not to cut the column shaft
from the top. If you do so, the shaft diameter will get larger and the pre-cut
capital will not set. Do cut from the bottom as required. The shaft diameter
gets smaller when the bottom is cut down.
2. Measure the height of where the column is to be placed. Deduct
this measurement by 1/2" and shape it to size. Seeing as how the facets of
the shaft are sloped, you may need a plum line to decide where to cut the
boards.
3. Before measuring for the fasteners tape three panels
collectively to form a "U". Make sure that the lock mitre edges or
'90s are squared and line up with each other.
4. Use the U-shaped shaft as a template to denote where the
bottom wood support is to be fastened, indicating the inside measurements.
5. Install the cleats for the bottom of the Column, set
using Tapcon Screws, pins, staples, and/or adhesive Pressure Treated Lumber
cleats (not included), contact with cement is acceptable.
6. Once you’re done with fixing cleats for the bottom, move
towards the top of the Column, staples, pins, fasten using screws, and/or
adhesive PVC.
7. Install nail or screw this U section to the cleats.
Others recommended that two "L" shaped pieces should be gathered but
we find using the U method more lenient as trees or shrubs are less inclined to
get in the way.
8. Now set the glue and tape in position the last panel,
9. Once the adhesive has set, remove the tape and pin the
cover and base in place.
10. Fill any defects with exterior caulking or sparkling
sand and you're ready to paint. Painting is not required but does enhance the
appearance of the column wrap.
Prestige DIY PVC columns are very easy to install and are cost-effective, which is why it is high-in demand across the market.


Comments
Post a Comment